Covered Clipboard – how to hints
I was having fun playing with the Just a Note bundle, making different mini clipboards. I noticed that the clipboard I use next to my desk was featuring some long retired DSP – so I decided it was time for a makeover!
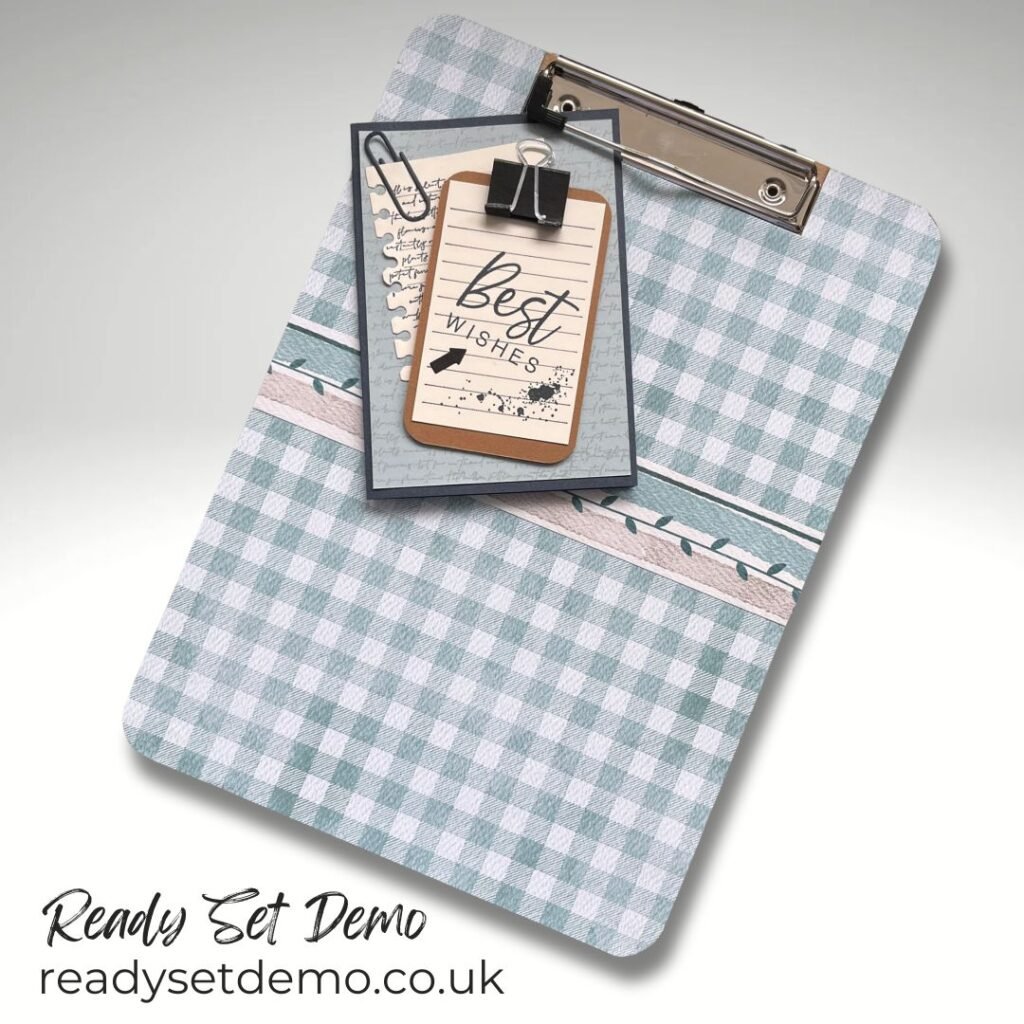
The Clipboard is a chipboard one which measures just a little more than 12″ tall so I have to get creative to cover it.
First I removed the previous DSP, taking special care to remove the edges. Next I cut my gorgeous Everyday Happiness Designer Series Paper. I cut the gingham piece at 12″ X 9″ and then cut in half at 6 inches on the long side.
Next I measured the section I would need to remove for the clip. I marked it with a pencil. I could have just cut it out, but I actually scored along the bottom edge and folded over for a neat finish.
I glued this piece down and then took my Take your Pick craft knife a carefully removed the excess along the sides and around the curved corners. I repeated this step for the bottom of the board.
This left me with a small gap in the middle, so I used the co-ordinating design with the leaf to cover that over with a 1 1/2″ strip.
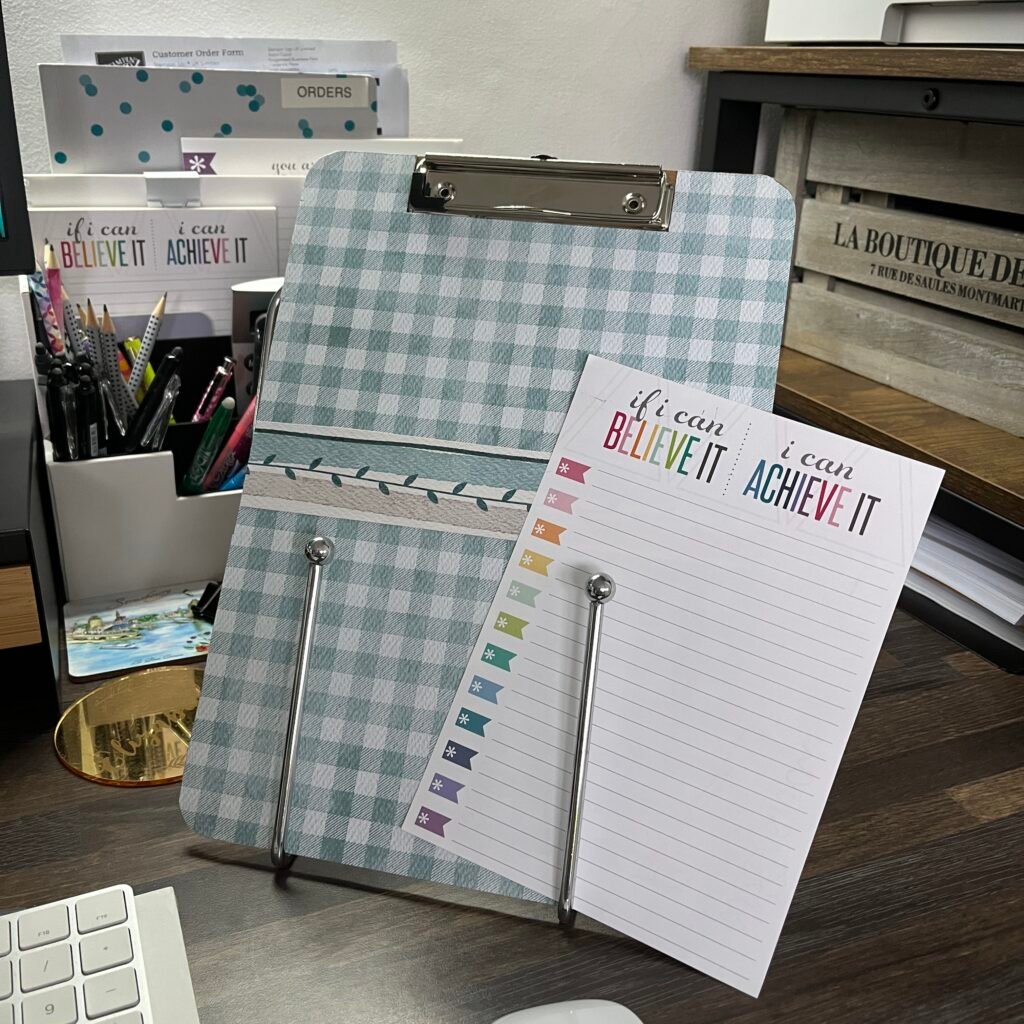
Now I love my clipboard so much, I don’t want to actually put stuff on it!
Has this inspired you to create your own clipboard decor? Let me know.


Leave a Reply